Lemon Basil Zucchini Bread

IMGP8604.jpg

Ingredients:

1  3/4 Cup whole wheat flour*

1 3/4 Cup all-purpose flour

1 Tbs baking powder

1/4 Tsp baking Soda

1/2 Tsp kosher or sea salt

1/2 Cup sugar

3 Cups grated zucchini or zephyr squash

3 Local farm-fresh eggs

1/2 Cup cold-pressed unsweetened coconut milk (can substitute apple sauce, melted butter, sour cream or yogurt)

1/2 Cup local raw honey

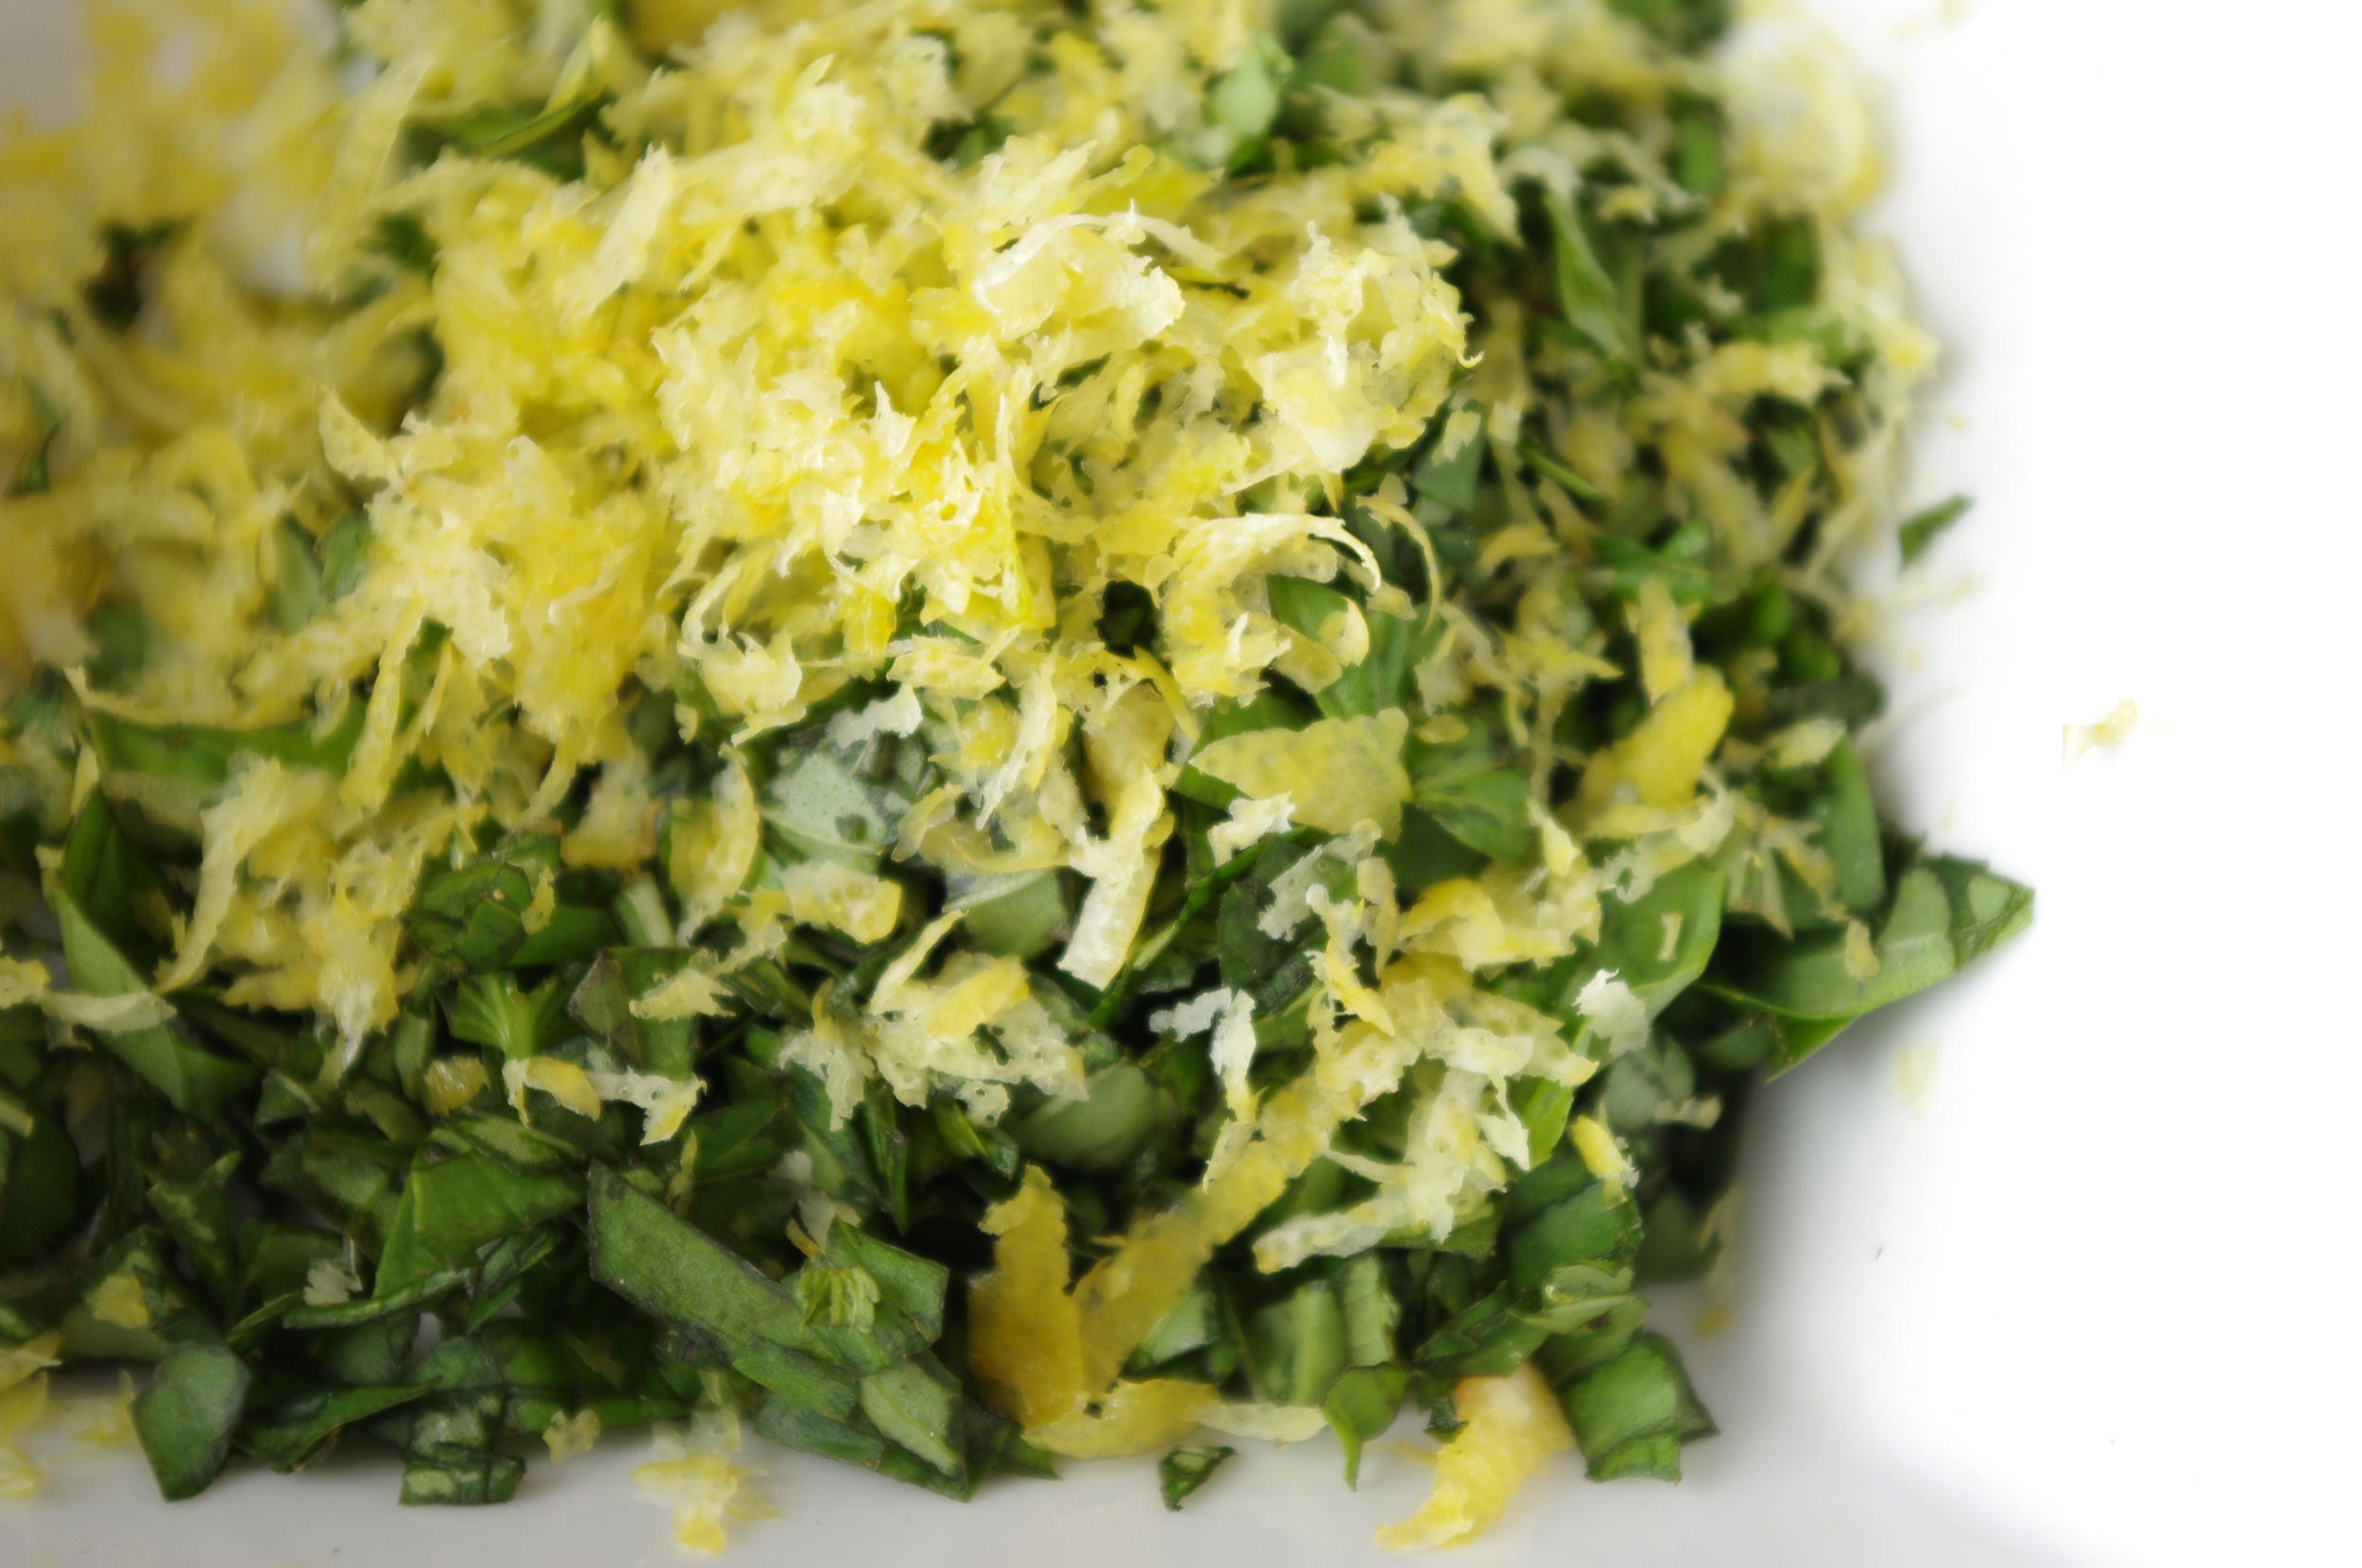
Zest of one lemon (using a micro plane or fine grater)

2-3 Tbs finely chopped fresh basil leaves (do not substitute dried basil)

(Alternative: Try using zest of one orange and 2-3 Tbs chopped fresh rosemary instead of the lemon and basil)

IMGP8542

Method:

Preheat oven to 350 degrees.  Grease two loaf pans, either with oil spray, butter or shortening.

Mix dry ingredients in a large bowl.  In a separate bowl, mix the eggs, coconut milk and honey, then pour onto the dry ingredients.  Add the grated zucchini, lemon zest, and chopped basil.  Mix until all ingredients are combined evenly.  Pour into the prepared pans and bake for 50 - 60 minutes, or until the tops have split and the loaves spring back to the touch.  You can also insert a bamboo skewer into the center.  It will come out clean when it is fully cooked.

*If you like the bread to be more dense and spongy, reduce the whole wheat flour by 1/4 cup, or add an egg and a little more grated zucchini to add moisture to the batter.

Remove the zucchini bread from the loaf pans after 5 minutes, then let rest for at least 1 hour on a cooling rack before slicing.

IMGP8539


Cauliflower and White Beet Masala

IMGP8517.jpg

Ingredients:

1 Bunch of white beets, plus greens

1 Medium or 2 small heads of cauliflower

2 Yellow onions

1-2 Tbs good curry spice blend (like Alchemy Spice Neo Masala, or a korma blend for a mild curry)...or blend your own!

Olive or canola oil

Sea salt

6-8 cloves of fresh garlic, peeled and minced

1 Can (15 oz) cold pressed unsweetened coconut milk, or 1 cup plain yogurt

Juice from one lemon

One small bunch of leaf celery stalks and leaves, chopped

1 Small bunch of cilantro leaves and stems, chopped


Method:

You can make your own masala spice blend with whole spices.  Toasting whole spices in a dry skillet for a few minutes will make the flavors bloom.  Put the whole spices in a clean spice grinder (or coffee grinder: before milling spices, clean the grinder by running dry rice grains through, then brush clean with a dry cloth or basting brush).  If using a mixture of pre-ground and whole spices, only toast and grind the whole ones, then combine them with the pre-ground spice powders. Which spices you choose is a matter of taste preference, but I like fennel seed, black peppercorns, coriander seed, cumin seed, fenugreek, cinnamon, ginger, cardamom, cloves, and turmeric.  Use enough dried chili (whole or flakes) to your desired heat preference.  After you have ground the spices into a powder, you can save any unused portions in a glass spice jar or airtight container.   If you would prefer to use a pre-blended masala, there are some really tasty ones at your local Indian grocery, or you can try the sweet and spicy Alchemy Spice Neo Masala.  Most generic curry spice blends at your local grocery will not have enough flavor or freshness for this recipe.

To prepare the vegetables: Coarsely chop the cauliflower, beets, and one yellow onion. Place chopped vegetables in an ovenproof dish and drizzle some oil over them, then stir to coat the vegetables in the oil.  Season with 1-2 Tablespoons of the masala spices and sea salt to taste.  Bake in the oven at 375 degrees for about 1 hour.

While the vegetables are baking, chop and saute the beet greens with a little oil to serve with the rice and vegetable masala.  Season the greens with salt and pepper to taste.

When the vegetables are nearly done, place the chopped celery leaves and stalks, one diced onion, the minced garlic, and a little oil in a large saucepan.  Saute on medium heat until tender.  Add the roasted vegetables, coconut milk, and lemon juice to the pan, and stir to combine.  Let simmer for a few minutes, then pulse with an immersion blender until the mixture becomes a thick, but textured sauce.  Season with more spices and salt to taste.  Remove from heat and stir in some of the fresh cilantro and celery leaf.

Serve with brown basmati rice, sauteed beet greens, and spiced grilled chicken, tofu, or fish.  Garnish with chopped fresh cilantro, celery leaf, and Cucumber Raita.


Cucumber Raita

IMGP8527.jpg

This salad or condiment is commonly served with spicy curry dishes from India.  The cucumber, yogurt and mint serve to cool the palate.  

Ingredients:

1 Cucumber, peeled, then grated, diced, or julienned

1 Cup natural low-fat Greek yogurt

1-2 Tbs chopped fresh mint leaves

1 Tbs chopped fresh cilantro

1/2 Tsp cumin powder

Sea salt to taste

Method:

Mix all ingredients in a bowl and serve immediately, or refrigerate up to one hour.

Kimchi and the Micro-Universe of Probiotics

IMGP8472.jpg

One of the many reasons why we choose to farm organically is because we want to protect the natural ecosystems of life.  Much of what we see in terms of "pests" that nibble holes in the broad leafy greens, are only a tiny portion of living organisms that depend on vegetables for life and health.  When pesticides are used, It's not just the beetles and caterpillars that are eradicated; even the organisms that are healthy and necessary for digestion are disrupted. Bacteria are part of the life cycle, and for humans and other animals they are necessary in the process of digestion and absorption of necessary nutrients. Lactobacilli is the main naturally-occurring pro-biotic that lives on fresh fruits and vegetables.  When the vegetables are allowed to ferment in an anaerobic environment, the lactobacilli multiply.  This is good news for everyone, but especially for anyone who might have difficulty digesting certain foods.  Other fermented foods such as sour dough bread, yogurt, and cheese are already common in western diets for their taste as well as their nutritional properties. Although pro-biotics are available in pill form at pharmacies, making your own is not only cheaper, it's delicious as well!  This season's CSA shares are full of fantastic fermenters. Cabbages, radishes, spring onions, and kohlrabi are excellent as sour kraut or kimchi.  Give it a try.  And if you are looking for more information about fermenting, contact our local Slow Food Chapter, or read one of the many books about fermenting available online or at your local library.

Kimchi Jars

Basic Kimchi

(Adapted from Wild Fermentation by Sandor Ellix Katz)

Ingredients:

(To make 1 quart of Kimchi)

Sea salt (not iodized)

1 lb Napa cabbage, pak choi, or arrowhead cabbage (or a mixture of the three)

1 Daikon radish or a few easter egg radishes

1-2 Fennel bulbs

3-4 Spring onions

4-6 Cloves of garlic

3 Tbs fresh ginger root

3-4 Hot chilies (fresh or dried)


Method:

To make the brine, fill a quart jar with filtered water or spring water, then add 4 Tbs sea salt.  Cover and shake until dissolved.

Coarsely chop the cabbage or pac choi, spring onions, and fennel.  Grate or julienne the radishes.  Place in a mixing bowl and cover with the quart of brine.  Cover with a plate or other weight to keep the vegetables submerged in the brine.  Let the vegetables soak for about 2 hours.

Place the garlic, chilies and ginger in a food processor or blender and puree into a paste.  You may need to add a little water or brine to make the paste.

When the cabbage mixture is decidedly salty to taste, drain off the brine into a bowl or jug (you may need some later).  Place the cabbage into a bowl and massage the garlic-ginger paste into the cabbage.  Always make sure to use clean utensils and hands.  (Sterilizing with anti-bacterial or chemical sanitizers are not necessary, but you want to make sure there are more good bacteria present than bad ones that will encourage mold growth. Soap and water for hands and utensils is perfect).  Stuff the cabbage mixture into a clean quart jar, packing in as tightly as possible and forcing the brine to rise.  Bruising the vegetables until they release brine encourages fermentation and removes air pockets.  The lactobacilli bacteria will populate in an anaerobic environment (no air), whereas molds will grow in the presence of oxygen.  However, you need to make sure to Leave about 1 inch of space in the top of the jar because the fermentation process will release gasses and cause the kimchi to swell in the jar.

There are several methods for keeping the kimchi submerged in the brine and discouraging mold growth.  For the sake of simplicity, however, I'm going to suggest keeping the lid on the jar (not too tight!).  Without a weight to hold the vegetables under the brine, you will need to open the jar and press the vegetables down into the brine once a day for a week.  Katz says, "If you think you can remember to check the kimchi every day, you can jus use your (clean!) fingers to push the vegetables back under the brine. I myself like the tactile involvement of this method, and I especially enjoy tasting the kimchi by licking my fingers after I do this.  Either way, cover the jar to keep out dust and flies."  It takes about a week for the kimchi to ferment to a point of ripeness, but you can taste each day and decide how you like it best.  I won't hurt to let it go longer if you prefer.  Leave it in your kitchen or on a shelf (not in direct sunlight) at room temperature, then refrigerate for long storage once it tastes perfect.  It will continue to ferment very slowly in the refrigerator, but can be tasty for months of stored properly.

Kimchi is a very versitile salad or condiment, but my favorite way to enjoy this tasty pro-biotic-filled food is with scrambled eggs and sauteed greens. It's a fantastically nutritious way to start the day.


Kale Smoothie Popsicles

IMGP8286.jpg

Yes, popsicles are for kids in the summertime...but you might want to make a few extra of these for yourself.  They make a fantastic cool treat for snacks, dessert, or even a light lunch.  It's a tasty way to enjoy those luscious greens that are filling the CSA boxes this time of year!

Ingredients:

About 6-10 dinosaur kale leaves (as a bonus, the kids love them even more because they are called "dinosaur")

1 cup of frozen blueberries

1 very ripe banana, frozen

1/2 cup raw almonds (or almond butter)

2-3 cups milk, or milk alternative like soy, almond or coconut

Juice from 1/2 lemon

1 tsp vanilla extract

A pinch of kosher salt

Local raw honey, to taste

Blueberry kale popsicle

Method:

Place all ingredients in a blender (I prefer to use a Vitamix for smoothies), and puree on high until very smooth. Adjust ingredients to taste.  Pour the smoothie into popsicle molds (available online and in many local shops). Freeze for 12-24 hours.

Preparation Tips

Fruits: You can adjust the fruit in this recipe to suit your taste, but blueberries are my first choice because they don't have coarse seeds and the smoothie won't turn brown when mixed with greens. Of course brown is not necessarily bad...you can always add some cocoa powder and give it a chocolaty taste.  Also, bananas are fairly essential for sweetness and texture, but hey it's a smoothie, make it the way you like it. You can also make layered popsicles with different flavor combinations.  Recently we tried a red-white-and blue popsicle made with the following layers: strawberry coconut, peanut butter banana, and blueberry kale. The kids keep begging for more.

Flavor & Texture: Nuts are also optional, but they add protein, as well as richness to the flavor and texture.  If you don't use nuts, add a little oil, coconut milk (unsweetened cold-pressed in a can), or cream to the mixture to balance the bitterness in the greens.  The salt, lemon juice and oils or nuts are all important ingredients to get the right balance of flavor, and counteract any bitterness from the greens.

Fresh v/s Frozen: You can use fresh fruit that has not been frozen, but the texture is more like ice cream when you start with frozen berries and bananas.  If you want a real time-saver, blanch your greens and freeze them as well.  Alternatively, you could puree them in a blender, then freeze portions in an ice-cube tray.  You can pop out portions as you need them for smoothies.

The Blender: A high powered blender like Vitamix is my first choice for making smoothies.  There are many blender gadgets available, even specifically designed for smoothies.  To get a truly smooth texture from high-fiber foods like greens and nuts, it's best to have a blender that can keep up with the demand.  You can still make smoothies in standard kitchen blenders, but it may take longer, or the texture may be less uniform and smooth.