Heirloom Tomato Soup

IMGP9476.jpg

Ingredients:

10 lbs ripe heirloom tomatoes (any color or variety)

1 Large yellow onion, diced

8-10 Garlic cloves, peeled and minced

1/4 Cup olive oil

1 Cup dry white or red wine

1 Tbs Alchemy Spice's Kitchen Karma spice blend

2 Bay leaves

Sea salt and pepper to taste


Method #1 (lots of texture)

In a large stock pot, saute the onions on medium-low heat with a little oil. Wash tomatoes, cut away the core and any bad spots. Chop the tomatoes into large chunks and place them in the stock pot with the onions.  Add the garlic, wine and spices.  Let simmer for at least one hour, but it's great if it simmers for several hours, with occasional stirring.  Taste occasionally and remove from heat when it is suitably done to your taste. Discard the bay leaves. Puree with an immersion blender.  Serve warm.


Method #2 (smooth texture)

Boil 6-8 quarts of water in a large stock pot.  Fill a large bowl with ice and water.  Cut an "x" in the bottom of the tomatoes. Plunge 3 or 4 tomatoes into the boiling water for 30 to 60 seconds, or until the skins begin to curl away.  Remove the tomatoes with a large spoon or sieve and place them in the bowl of ice water long enough to cool them.  Repeat until all of the tomatoes have been blanched.  Remove the skins, cores, and any bad spots.  Chop the tomatoes into large chunks.  Continue with instructions for Method #1.


Serve with Grilled cheese, tomato and basil sandwiches.


Basic Canning for Raw Packed Tomatoes

IMGP9432.jpg

Canning is sometimes intimidating to first-timers because of the potential for "doing it wrong" or losing pounds of valuable tomatoes to spoilage.  Also, home canning is somewhat time consuming, which can turn many off the idea.  However, the hook comes in January when you look at your pantry shelf, full with quart jars of juicy farm tomatoes. When you open a jar on a cold winter's day and realize that you can't buy anything nearly as nice in stores, the willingness to can more tomatoes the next summer somehow appears. Canning is generally more enjoyable when you have someone to help with the processing.  So invite a friend over, put on your favorite music, and think about those lovely soups you will be enjoying the next winter.

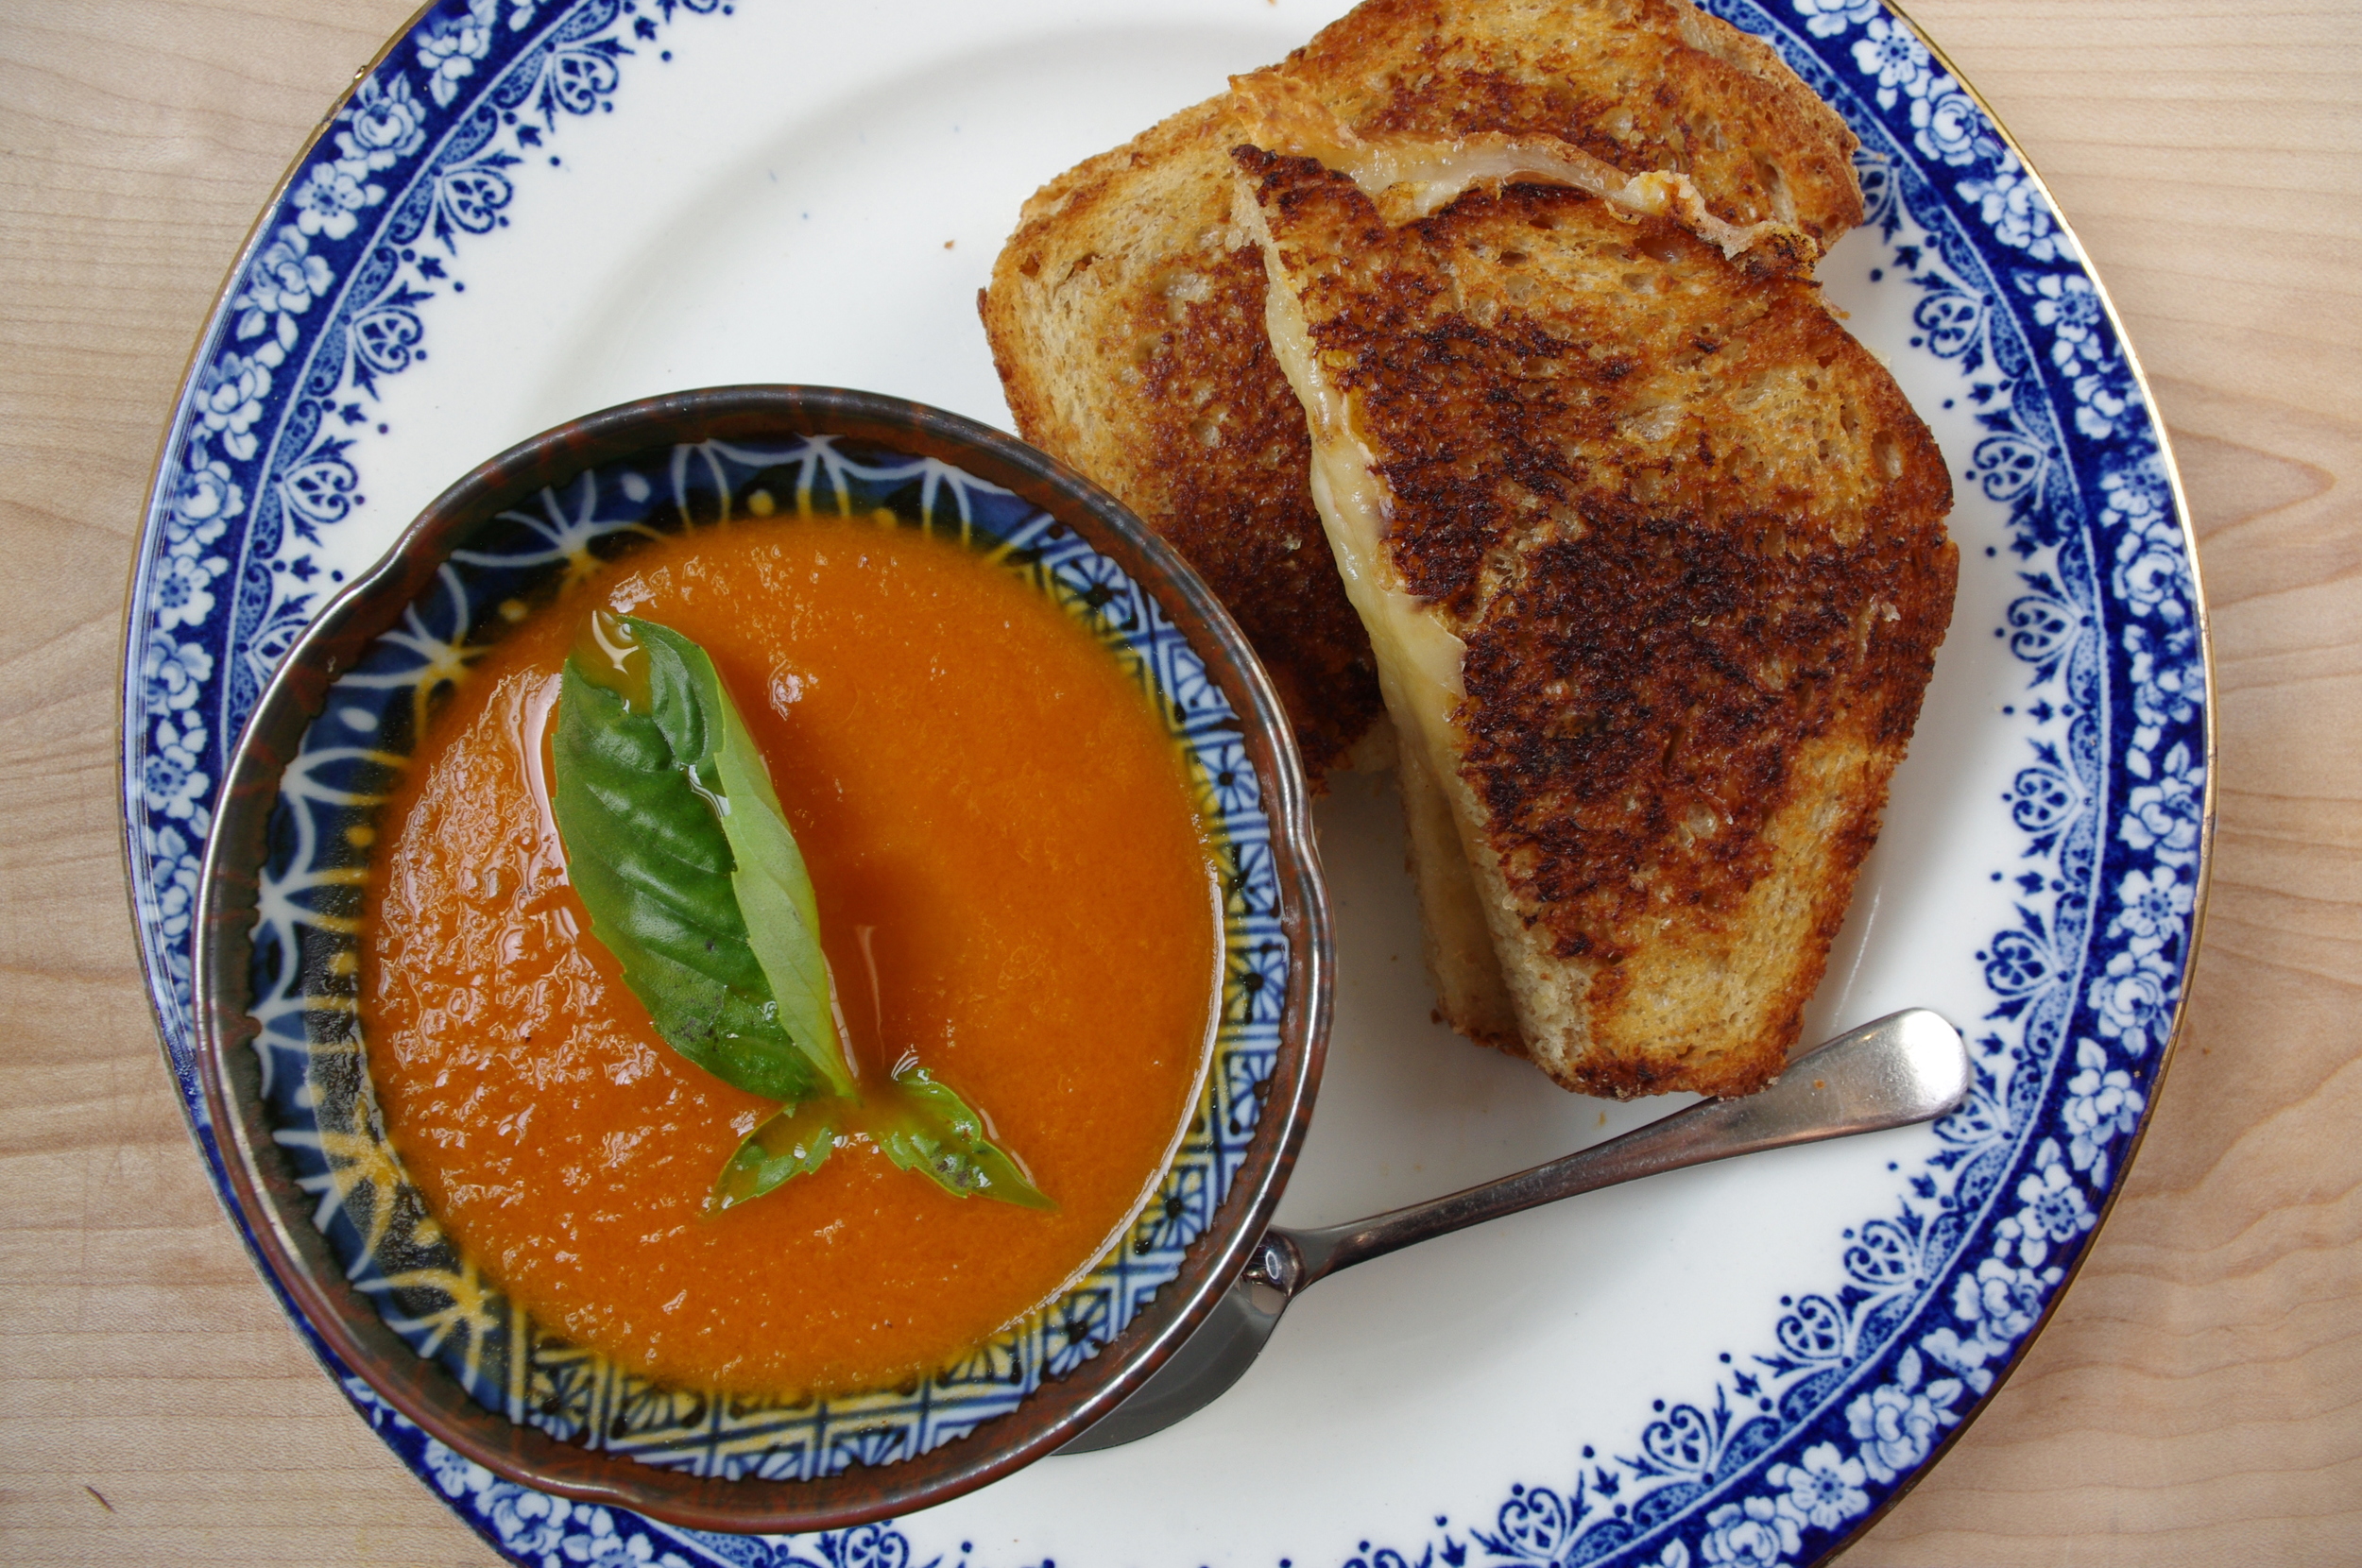
This post is a simple photographic how-to on basic processing and canning techniques for raw-packed heirloom tomatoes, though there are multitudes of recipes available online and in canning books.  Tomatoes and jams are easily canned in water-bath canners.  There are a few steps that are different for pressure canning and water bath canning. Pressure canners can be used as water bath canners, but they also allow the flexibility to can a large variety of other foods that require more sophisticated preserving methods. For basic preservation of tomatoes, however, this recipe is as simple as it gets.  The end result provides soft chunks of tomatoes in their own juices.  Heirloom tomatoes have more water than other varieties, but the flavors are superb.  The "water" or juices are valuable for making sauces and soups more delicious.

Ingredients:

About 20-30 lbs of heirloom or slicing tomatoes

Citric acid (found with canning supplies), or bottled lemon juice

Canning and pickling salt (dissolves faster, but any salt will work)

Equipment:

Pressure canner or water-bath canner (or a large stock pot that is tall enough for jars to sit inside with 1/2 inch of water covering the jars).

Several quarts of boiling water

2 Tbs white vinegar

Wide mouth canning funnel

A long handled plastic or wooden mixing spoon, spatula, or cocktail muddler

7 quart size Mason jars with lids and bands (wide or narrow mouth)

A small saucepan with boiling water (for sterilizing lids)

A magnetic lid lifter (optional, found with canning supplies)

Dishwasher or boiling water for sterilizing and heating Mason jars

Clean dish rags and towels

For processing tomatoes:

A cutting board set inside a raised-edge baking sheet

A sharp knife

A large stock pot with boiling water for blanching

About 1 gallon of ice

Large spoons or sieves with handles for lifting whole tomatoes out of blanching pot

Several large bowls or trays for holding tomatoes at different stages


Method:

 IMGP9422

1) Boil a large pot of water for blanching the tomatoes (to remove skins).  And in a small pan, boil water for sterilizing the lids.  Boil the lids for at least 10 minutes, and leave them in hot water until ready to use.

Wash the Mason jars in a dishwasher on a water heat/heated dry setting.  Leave in the dishwasher (so they will remain hot) until ready to fill with tomatoes.  Alternately, you can wash with soapy water and fill with boiling water to heat the jars.  Then pour out the boiling water just prior to filling with tomatoes.

IMGP9413

2) Wash tomatoes, rubbing gently to remove any soil, dried leaves, etc.

IMGP9423

3) Cut away any spots on the tomato that have spoiled. Then cut an X into the skin of the bottom of the tomatoes (not too deep) and plunge them into the pot of boiling water for 30 -60 seconds.

IMGP9429

4) Carefully remove the blanched tomatoes when you see the skins begin to pull away. You will probably only want to do 5 or 6 at a time (depending on the size of your pot of water), so that you will be able to remove them quickly when they are ready.  You do not want to cook the tomatoes in this step, only remove the skins.

IMGP9425

 5) Put the tomatoes in a bowl or sink of ice water to stop the cooking process and cool the tomatoes.  Remove when cool and place in a bowl or on a tray until ready to peel.

IMGP9427

6) Peel the skins away by hand. Carefully (they are slippery!) remove the core, then quarter or slice the tomatoes.  The chopping process will cause the tomatoes to release more of their natural juices in the canning process, so for a more firm product, keep them whole or in large chunks.

IMGP9436

7) When you have an 8-9 quart bowl filled with peeled and chopped tomatoes, you are ready to start filling your jars.  If pressure canning, boil 3 quarts of water and place in the pressure canner.  Add 2 Tbs of white vinegar to the water to keep from having water lines on your jars. If water-bath canning, fill the canner about 1/2 full of water and boil. Have extra boiling water on hand for covering the jars once they are inserted into the canner.

IMGP9433

8) Pour 1/2 teaspoon of citric acid (or 2 Tbs of bottled lemon juice) in the bottom of the heated quart jars.  Put 1/2 to 1 teaspoon of canning and pickling salt in each jar (can use other types of salt, but this one dissolves faster).

IMGP9437

9) Scoop the tomatoes (by hand or with a slotted spoon) into the jars using a wide-mouth canning funnel as pictured above. Pack them firmly into the jar, and try to force the air bubbles out with a clean wooden or plastic cooking spoon, spatula, or cocktail muddler.  Leave 1/2 inch of head space in the jar.

IMGP9438

10) Wipe the rims of the filled jars with a clean, damp cloth (you can use a little white vinegar on the cloth to help limit bacteria if you like).  Top the jars with the sterilized and heated lids.  Place the bands on the jars and screw on "fingertip tight" which means to the point of resistance, but not tight.

IMGP9439

11) Place the jars in the canner on top of the rack, being careful that they do not touch each other or the sidewalls of the canner.  Follow manufacturer's instructions for using your pressure canner.  Most state that after pressure is reached, tomatoes need to process at 5lbs of pressure for 40 minutes to ensure food safety (See guidelines for high altitude canning times if above 1000ft). Once the tomatoes have processed for the full time, turn off heat and let the canner gradually cool.  Do not try to remove the lid or release pressure prematurely.  This can cause the jars to not seal properly.  Follow manufacturer's instructions for the removal of processed jars.

IMGP9444

12) For water bath canning, cover the jars with boiling water (about 1/2 inch over the tops of the lids) and let water come to a boil before starting process time. Cover with a vented lid. Once the water is boiling set timer for 85 minutes. If using a pressure canner as a water-bath canner, remove the weight and rubber vent stopper from the lid so the steam can escape. Lock the lid in place while processing to keep water from splashing out.   When the processing time is complete, turn off the heat and carefully remove the jars from the canner with canning tongs. Place them on a clean cloth or paper and let cool.  Do not touch the lids until the jars have completely cooled.  You may hear a pop sound when the lids seal as the jars gradually cool.

IMGP9448

13) When the jars have completely cooled, check that they have properly sealed by pressing in the center of the lid.  It should be firm with no movement.  If it pops up and down then it has not sealed properly.  If the jars are sealed, remove the bands and wipe around the lids with a clean damp cloth.  You can use a little white vinegar on the cloth to help lift any residue.  At this point the bands are not necessary, but if you want to leave them on, clean the inside of the bands and make sure they are dry before placing them on the jars.  Store your jars of tomatoes on a shelf that is cool and dark.  Refrigeration is not necessary until opened.

Kimchi and the Micro-Universe of Probiotics

IMGP8472.jpg

One of the many reasons why we choose to farm organically is because we want to protect the natural ecosystems of life.  Much of what we see in terms of "pests" that nibble holes in the broad leafy greens, are only a tiny portion of living organisms that depend on vegetables for life and health.  When pesticides are used, It's not just the beetles and caterpillars that are eradicated; even the organisms that are healthy and necessary for digestion are disrupted. Bacteria are part of the life cycle, and for humans and other animals they are necessary in the process of digestion and absorption of necessary nutrients. Lactobacilli is the main naturally-occurring pro-biotic that lives on fresh fruits and vegetables.  When the vegetables are allowed to ferment in an anaerobic environment, the lactobacilli multiply.  This is good news for everyone, but especially for anyone who might have difficulty digesting certain foods.  Other fermented foods such as sour dough bread, yogurt, and cheese are already common in western diets for their taste as well as their nutritional properties. Although pro-biotics are available in pill form at pharmacies, making your own is not only cheaper, it's delicious as well!  This season's CSA shares are full of fantastic fermenters. Cabbages, radishes, spring onions, and kohlrabi are excellent as sour kraut or kimchi.  Give it a try.  And if you are looking for more information about fermenting, contact our local Slow Food Chapter, or read one of the many books about fermenting available online or at your local library.

Kimchi Jars

Basic Kimchi

(Adapted from Wild Fermentation by Sandor Ellix Katz)

Ingredients:

(To make 1 quart of Kimchi)

Sea salt (not iodized)

1 lb Napa cabbage, pak choi, or arrowhead cabbage (or a mixture of the three)

1 Daikon radish or a few easter egg radishes

1-2 Fennel bulbs

3-4 Spring onions

4-6 Cloves of garlic

3 Tbs fresh ginger root

3-4 Hot chilies (fresh or dried)


Method:

To make the brine, fill a quart jar with filtered water or spring water, then add 4 Tbs sea salt.  Cover and shake until dissolved.

Coarsely chop the cabbage or pac choi, spring onions, and fennel.  Grate or julienne the radishes.  Place in a mixing bowl and cover with the quart of brine.  Cover with a plate or other weight to keep the vegetables submerged in the brine.  Let the vegetables soak for about 2 hours.

Place the garlic, chilies and ginger in a food processor or blender and puree into a paste.  You may need to add a little water or brine to make the paste.

When the cabbage mixture is decidedly salty to taste, drain off the brine into a bowl or jug (you may need some later).  Place the cabbage into a bowl and massage the garlic-ginger paste into the cabbage.  Always make sure to use clean utensils and hands.  (Sterilizing with anti-bacterial or chemical sanitizers are not necessary, but you want to make sure there are more good bacteria present than bad ones that will encourage mold growth. Soap and water for hands and utensils is perfect).  Stuff the cabbage mixture into a clean quart jar, packing in as tightly as possible and forcing the brine to rise.  Bruising the vegetables until they release brine encourages fermentation and removes air pockets.  The lactobacilli bacteria will populate in an anaerobic environment (no air), whereas molds will grow in the presence of oxygen.  However, you need to make sure to Leave about 1 inch of space in the top of the jar because the fermentation process will release gasses and cause the kimchi to swell in the jar.

There are several methods for keeping the kimchi submerged in the brine and discouraging mold growth.  For the sake of simplicity, however, I'm going to suggest keeping the lid on the jar (not too tight!).  Without a weight to hold the vegetables under the brine, you will need to open the jar and press the vegetables down into the brine once a day for a week.  Katz says, "If you think you can remember to check the kimchi every day, you can jus use your (clean!) fingers to push the vegetables back under the brine. I myself like the tactile involvement of this method, and I especially enjoy tasting the kimchi by licking my fingers after I do this.  Either way, cover the jar to keep out dust and flies."  It takes about a week for the kimchi to ferment to a point of ripeness, but you can taste each day and decide how you like it best.  I won't hurt to let it go longer if you prefer.  Leave it in your kitchen or on a shelf (not in direct sunlight) at room temperature, then refrigerate for long storage once it tastes perfect.  It will continue to ferment very slowly in the refrigerator, but can be tasty for months of stored properly.

Kimchi is a very versitile salad or condiment, but my favorite way to enjoy this tasty pro-biotic-filled food is with scrambled eggs and sauteed greens. It's a fantastically nutritious way to start the day.


How to Freeze Greens

IMGP8367.jpg

With a box as full of broad leafy greens as we had this week, it's worth posting a basic how-to on freezing.  If you have ever bought a bag of frozen spinach or kale from the grocery store, you will know that frozen is not quite as nice as fresh.  But for soups, smoothies, or quick meals, having a stash of frozen kale is a real time-saver.  If you are struggling to eat all of your greens before the next box arrives, try this quick method of blanching and freezing to preserve your extras:

Method:

Fill a large soup or stock pot 2/3 full of water, and boil.  You can add salt to the water, but it's not absolutely necessary. Wash greens and cut or peel away the woody stems.  With a wooden spoon, push the greens into the boiling water and boil them for about 30 seconds.  Remove from the boiling water and place them in a colander under cold running water, or in a bowl of ice water until the greens are cold to touch.

Squeeze the excess water from the greens and place them loosely in a freezer-proof bag or container.  Separating the leaves somewhat and packing them loosely will allow you to take frozen portions from the container more easily.

Blanching and freezing is great for many vegetables, but this method is great for kale, collards, chard, and greens from beets, kohlrabi, and turnips.

Kale Smoothie Popsicles

IMGP8286.jpg

Yes, popsicles are for kids in the summertime...but you might want to make a few extra of these for yourself.  They make a fantastic cool treat for snacks, dessert, or even a light lunch.  It's a tasty way to enjoy those luscious greens that are filling the CSA boxes this time of year!

Ingredients:

About 6-10 dinosaur kale leaves (as a bonus, the kids love them even more because they are called "dinosaur")

1 cup of frozen blueberries

1 very ripe banana, frozen

1/2 cup raw almonds (or almond butter)

2-3 cups milk, or milk alternative like soy, almond or coconut

Juice from 1/2 lemon

1 tsp vanilla extract

A pinch of kosher salt

Local raw honey, to taste

Blueberry kale popsicle

Method:

Place all ingredients in a blender (I prefer to use a Vitamix for smoothies), and puree on high until very smooth. Adjust ingredients to taste.  Pour the smoothie into popsicle molds (available online and in many local shops). Freeze for 12-24 hours.

Preparation Tips

Fruits: You can adjust the fruit in this recipe to suit your taste, but blueberries are my first choice because they don't have coarse seeds and the smoothie won't turn brown when mixed with greens. Of course brown is not necessarily bad...you can always add some cocoa powder and give it a chocolaty taste.  Also, bananas are fairly essential for sweetness and texture, but hey it's a smoothie, make it the way you like it. You can also make layered popsicles with different flavor combinations.  Recently we tried a red-white-and blue popsicle made with the following layers: strawberry coconut, peanut butter banana, and blueberry kale. The kids keep begging for more.

Flavor & Texture: Nuts are also optional, but they add protein, as well as richness to the flavor and texture.  If you don't use nuts, add a little oil, coconut milk (unsweetened cold-pressed in a can), or cream to the mixture to balance the bitterness in the greens.  The salt, lemon juice and oils or nuts are all important ingredients to get the right balance of flavor, and counteract any bitterness from the greens.

Fresh v/s Frozen: You can use fresh fruit that has not been frozen, but the texture is more like ice cream when you start with frozen berries and bananas.  If you want a real time-saver, blanch your greens and freeze them as well.  Alternatively, you could puree them in a blender, then freeze portions in an ice-cube tray.  You can pop out portions as you need them for smoothies.

The Blender: A high powered blender like Vitamix is my first choice for making smoothies.  There are many blender gadgets available, even specifically designed for smoothies.  To get a truly smooth texture from high-fiber foods like greens and nuts, it's best to have a blender that can keep up with the demand.  You can still make smoothies in standard kitchen blenders, but it may take longer, or the texture may be less uniform and smooth.